Panning: Mastering Shutter Speed in Photography
Panning is a widely used technique in photography that involves capturing a moving subject while maintaining its sharpness against a blurred background. By skillfully adjusting the shutter speed, photographers can create dynamic and visually appealing images that convey a sense of motion and energy. This article aims to explore the concept of panning as well as provide insights into mastering shutter speed to achieve optimal results.
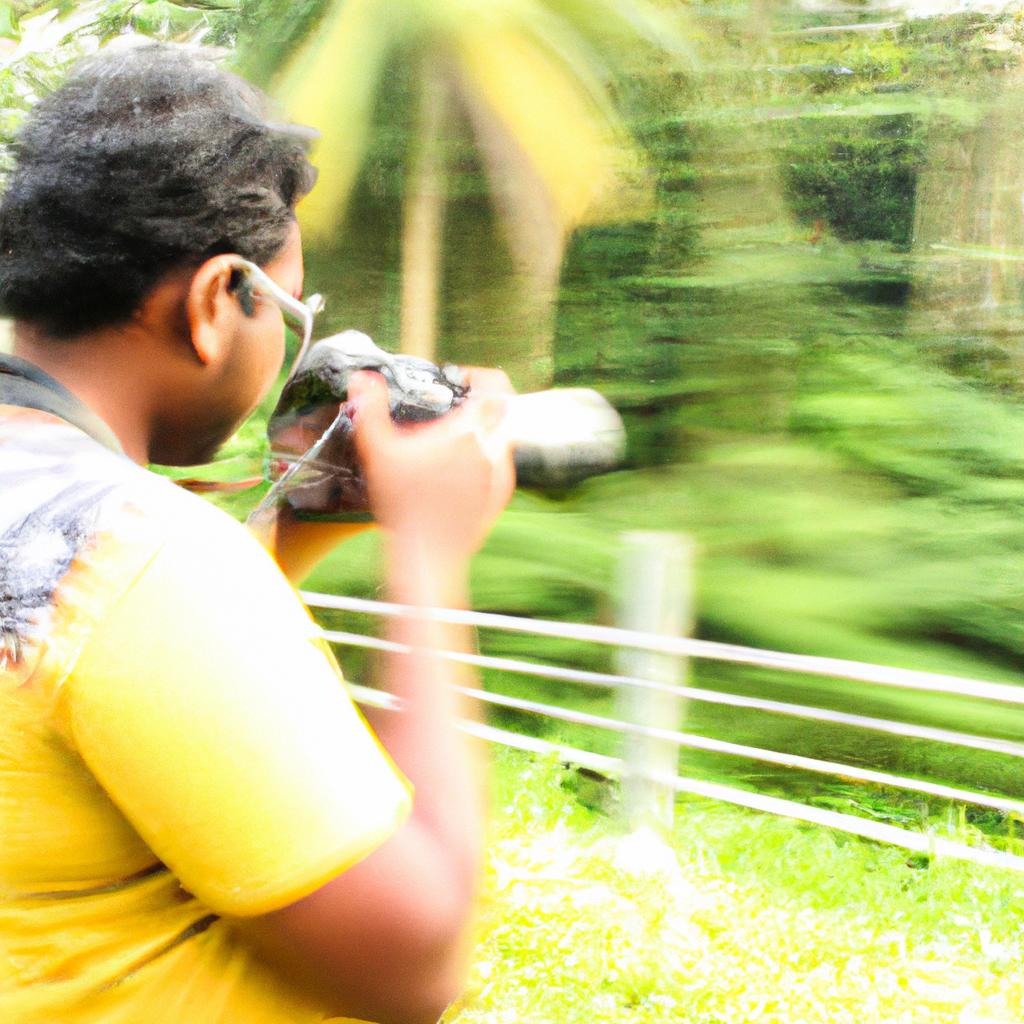
To illustrate the power of this technique, let us consider an example: imagine capturing a cyclist racing down a winding road surrounded by lush greenery. With the right application of panning and appropriate manipulation of shutter speed, one can freeze the cyclist’s face and body with incredible clarity, while simultaneously blurring the surrounding scenery. This combination creates an image that not only showcases the cyclist’s speed but also conveys a feeling of exhilaration and movement. Through understanding how to effectively control shutter speed when practicing panning, photographers can elevate their compositions to new levels of creativity and visual impact.
In order to delve deeper into these concepts, it is essential to comprehend the relationship between shutter speed and panning technique – how they work together harmoniously to produce captivating photographs. By exploring various scenarios where different shutter speeds are employed during panning shots, we will gain valuable knowledge on how each setting affects the final outcome of the image.
When it comes to panning, the choice of shutter speed is crucial in achieving the desired effect. A fast shutter speed, such as 1/1000th of a second or higher, will freeze both the subject and background, resulting in a static image devoid of any sense of motion. On the other hand, using a slow shutter speed, like 1/30th of a second or slower, can create too much blur and make the subject unrecognizable.
The key is to find the right balance between freezing the subject and blurring the background. This is where adjusting the shutter speed comes into play. Typically, a shutter speed around 1/60th to 1/125th of a second is often recommended for panning shots. However, this can vary depending on factors such as the speed of the subject and personal preference.
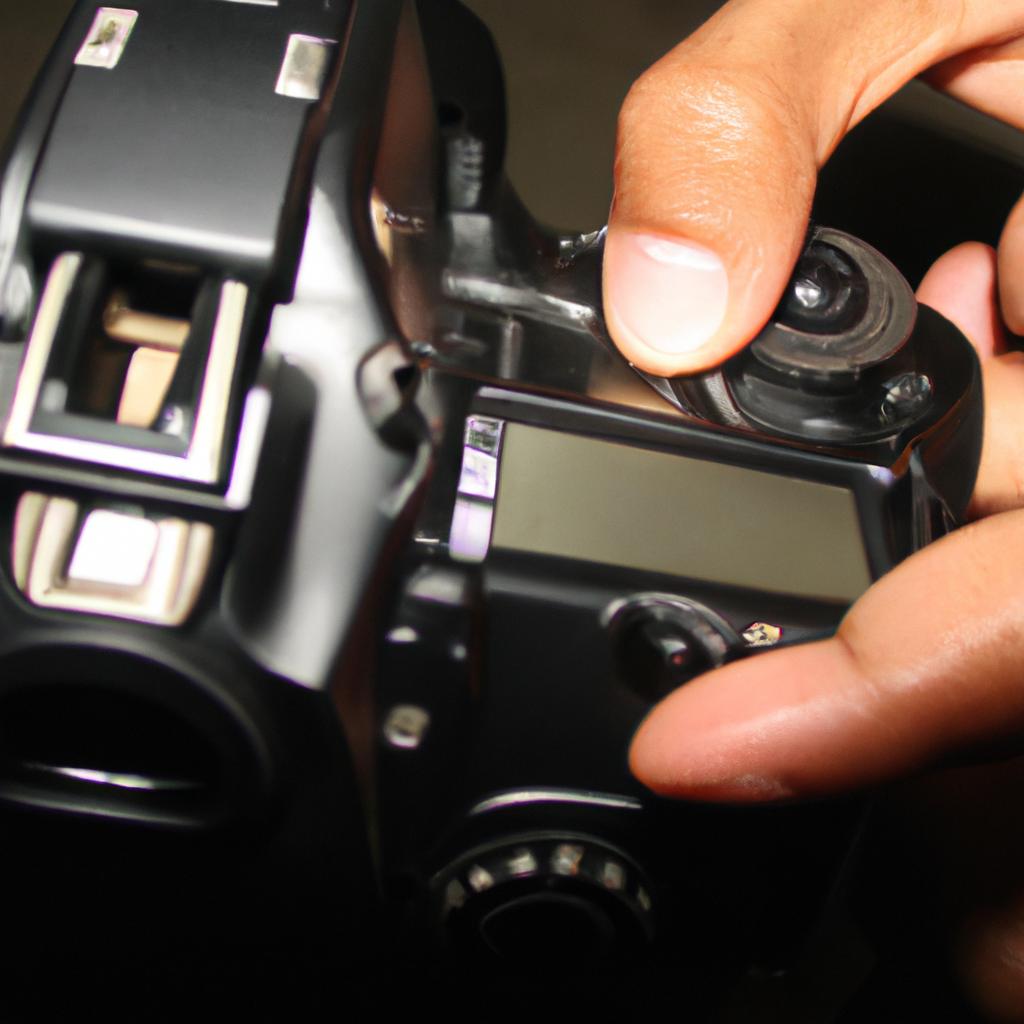
To begin practicing panning with an appropriate shutter speed, start by setting your camera to Shutter Priority Mode (S mode) or Manual Mode (M). In Shutter Priority Mode, you select the desired shutter speed while letting the camera determine the corresponding aperture value for proper exposure. In Manual Mode, you have full control over both shutter speed and aperture values.
Next, experiment with different shutter speeds while tracking a moving subject horizontally or vertically across your frame. Start with faster shutter speeds and gradually decrease them until you achieve desirable results. Remember to keep your focus locked on your subject throughout the pan for sharpness.
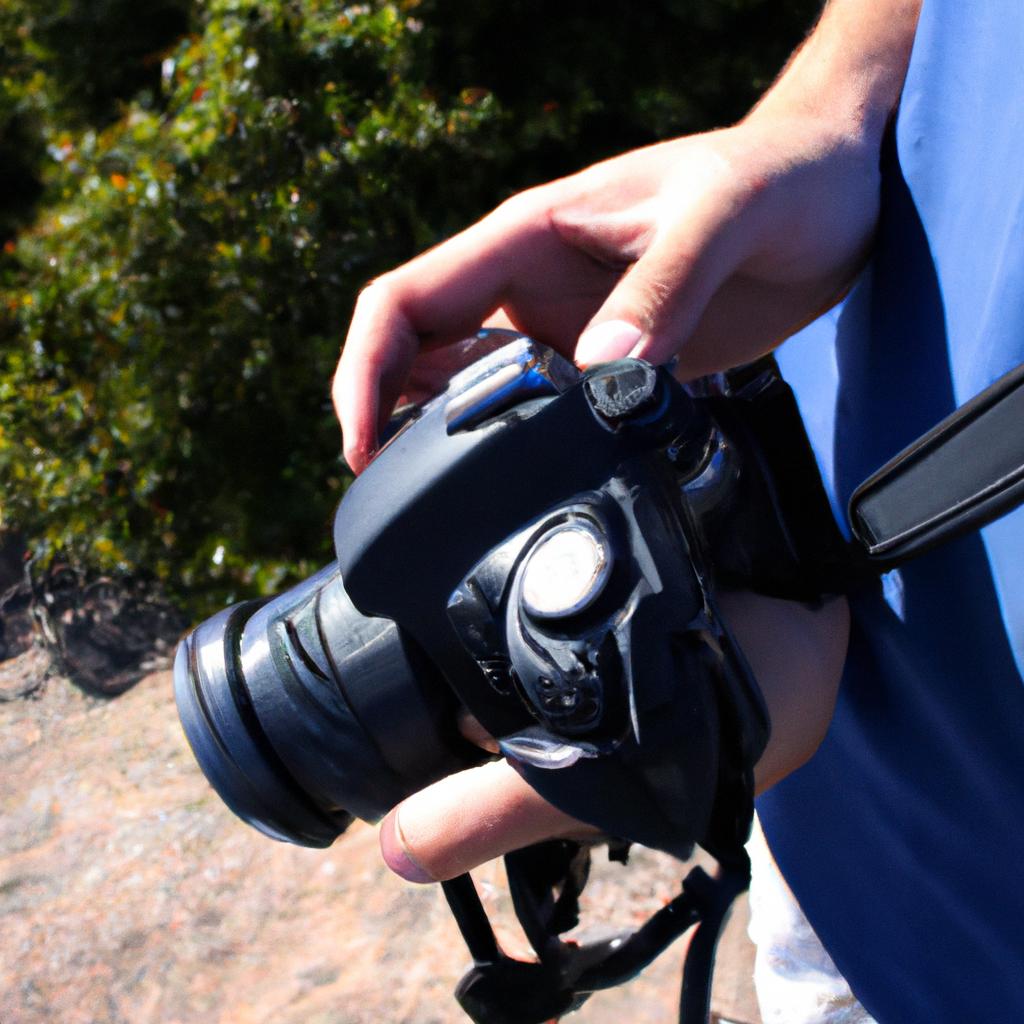
Additionally, it’s important to maintain smooth movement during panning shots. To do this, stand with your feet shoulder-width apart and rotate your upper body at the same pace as your subject without jerking or abruptly stopping. Keeping your camera steady by using proper handholding techniques or utilizing stabilization features can also contribute to better results.
In conclusion, mastering panning technique requires understanding how shutter speed influences motion blur in images. By experimenting with different shutter speeds and practicing smooth camera movements, photographers can capture stunning images that convey a sense of speed and motion while maintaining sharpness on the subject. So grab your camera, find a moving subject, and start exploring the world of panning photography!
Understanding the Basics of Panning
Panning is a technique used in photography to capture moving subjects with a sense of motion and dynamism. By following the subject’s movement while keeping it sharp against a blurred background, panning creates an engaging visual effect that adds energy and excitement to an image. To master this technique, it is essential to understand its basics.
To illustrate the impact of panning, let us consider a hypothetical scenario. Imagine capturing an athlete sprinting towards the finish line during a race. Without using the panning technique, freezing the action with a fast shutter speed would result in a static image where the athlete appears suspended mid-stride. However, by employing panning and slowing down the shutter speed, one can convey the sensation of speed and movement as the athlete races past, surrounded by streaks of blurred track lines.
When attempting panning, there are several key considerations to keep in mind:
- Shutter Speed: The choice of shutter speed is crucial for achieving successful pans. A slower shutter speed allows more time for tracking the subject’s movement and generating motion blur in the background. Experimentation with different speeds will help determine what works best for each specific situation.
- Aperture Selection: While aperture does not directly affect panning itself, it plays a role in controlling depth of field. Using a wider aperture (smaller f-number) helps isolate the subject from distracting elements in the surroundings.
- Focus Technique: It is essential to maintain focus on the moving subject throughout the pan. Techniques such as continuous autofocus or pre-focusing at a specific distance can aid in achieving tack-sharp results.
- Body Positioning: Proper body positioning contributes significantly to effective panning. Planting your feet firmly apart, rotating smoothly at your waist rather than just swiveling your upper body, and practicing fluid movements will enhance your chances of capturing compelling images.
By understanding these fundamentals and carefully applying them, photographers can create stunning panning images that convey a sense of speed and action.
Emotional Bullet Point List:
- Immersive technique capturing the essence of motion.
- Creates dynamic and captivating visuals.
- Adds energy and excitement to photographs.
- Allows viewers to experience the thrill and adrenaline associated with moving subjects.
| Key Considerations for Panning |
|---|
| Shutter Speed |
| Aperture Selection |
| Focus Technique |
| Body Positioning |
Moving forward into our exploration of “Choosing the Right Shutter Speed,” let us examine how this particular setting impacts panning outcomes seamlessly.
Choosing the Right Shutter Speed
Panning, a technique widely used in photography, requires mastery of shutter speed to capture dynamic and compelling images. In the previous section, we explored the basics of panning, understanding how it can add motion and drama to photographs. Now let’s delve into the crucial aspect of choosing the right shutter speed for successful panning.
To illustrate the significance of selecting an appropriate shutter speed, consider this hypothetical scenario: imagine capturing a race car speeding around a track. If you use too fast a shutter speed, such as 1/1000th of a second or higher, you will freeze the car in place, resulting in a static image devoid of any sense of movement. Conversely, if your shutter speed is too slow, say 1/30th of a second or lower, you risk blurring not just the background but also the subject itself. Striking that perfect balance between freezing the action while retaining some motion blur is essential for creating visually stunning panning shots.
When determining which shutter speed to employ when panning, keep these considerations in mind:
- Subject Speed: The faster your subject moves across the frame, the higher your required shutter speed should be.
- Lens Focal Length: Longer focal lengths amplify camera shake; therefore, using quicker shutter speeds becomes imperative to counteract potential blurriness.
- Desired Amount of Blur: Deciding on how much background blur you want depends on personal preference and desired aesthetic outcome.
- Lighting Conditions: Adjusting your ISO settings may affect your final selection for shutter speed depending on available light levels.
| Shutter Speed (in seconds) | Effect |
|---|---|
| 1/500th | Moderate background blur with relatively sharp subject |
| 1/250th | Increasing amounts of background blur with slightly softer subject |
| 1/125th | Greater background blur with noticeable softening of subject |
| 1/60th | Substantial background blur with subject appearing more blurred |
By carefully considering these factors and experimenting with different shutter speeds, you can achieve stunning panning shots that truly capture the essence of motion. So let’s dive into the intricate details of configuring your camera settings for successful panning shots.
Setting Up your Camera for Panning
Section H2: Setting Up Your Camera for Panning
Transitioning from the previous section on choosing the right shutter speed, it is essential to ensure that your camera settings are optimized for panning. By setting up your camera correctly, you can achieve sharp subjects against a blurred background, creating a sense of motion in your photographs.
To illustrate this point, let’s consider an example. Imagine capturing a speeding race car as it zooms past you on the racetrack. To freeze the action and convey a sense of speed, you would need to use a fast shutter speed. However, if you want to emphasize the motion and create dynamic images with streaks of color trailing behind the car, panning comes into play. In this scenario, setting up your camera properly becomes crucial in achieving desirable results.
Here are some key steps to follow when preparing your camera for panning:
- Use Manual Mode: Set your camera to manual mode so that you have full control over all exposure settings.
- Select Shutter Priority Mode: Within manual mode, choose shutter priority (Tv/S) where you can set the desired shutter speed while the camera adjusts other parameters accordingly.
- Enable Continuous Autofocus (AF-C): This autofocus mode allows your camera to track moving subjects continuously while adjusting focus as needed.
- Activate Image Stabilization: If available on your lens or camera body, enable image stabilization to counteract any potential hand movement during panning.
By implementing these setup techniques effectively, you can enhance your chances of successfully capturing captivating panning shots. Remember that practice makes perfect; experimenting with different combinations of shutter speeds and subject movements will ultimately help refine your skills.
Transitioning smoothly into our next section about mastering handheld panning techniques, we will delve deeper into practical tips and tricks for executing seamless pans without compromising image quality or composition.
Mastering Handheld Panning Techniques
Setting Up your Camera for Panning Techniques
Imagine you are photographing a fast-moving car on a racetrack, wanting to capture the sensation of speed and motion. To achieve this effect, mastering panning techniques with your camera is essential. In the previous section, we discussed the fundamentals of setting up your camera for panning. Now, let’s delve deeper into how to fine-tune your camera settings for optimal results.
To begin, ensure that you have selected an appropriate shutter speed. Experimentation is key here, as different subjects may require varying speeds to achieve the desired effect. A general rule of thumb is to start with a slower shutter speed (around 1/30th of a second) and gradually increase it until you attain the right balance between subject sharpness and background blur. Remember that finding this sweet spot might take some trial and error.
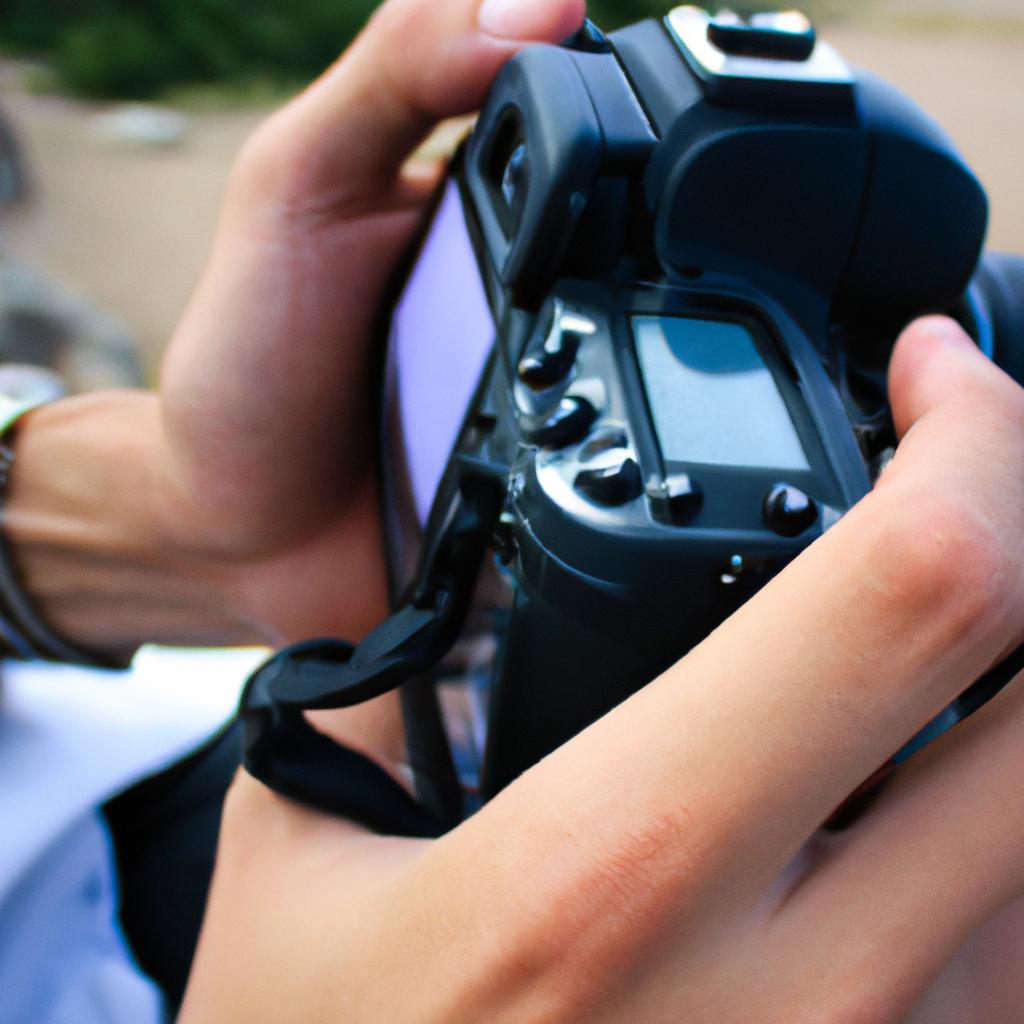
In addition to adjusting your shutter speed, consider using continuous autofocus (AF-C) mode or AI Servo AF if you’re shooting with a Canon camera. This feature allows the camera to continuously track your moving subject while keeping it in focus throughout the panning process. By enabling this function, you can maintain clarity in the subject despite its movement across the frame.
To further enhance your chances of success when panning, keep these tips in mind:
- Use burst mode: Capture multiple frames per second by utilizing burst mode on your camera. Doing so increases your chances of getting at least one perfectly timed shot.
- Steady yourself: Maintain stability by holding your camera firmly against your body or using a tripod if possible. This helps reduce unwanted camera shake and ensures smoother panning movements.
- Follow through: Continue tracking your subject even after taking the shot to avoid abrupt stops that could result in blurriness.
- Practice makes perfect: Panning requires practice and patience. Don’t be discouraged if you don’t get it right immediately; keep practicing and refining your technique.
| Shutter Speed | Effect |
|---|---|
| Slower | Creates more pronounced motion blur, emphasizing speed and movement. |
| Faster | Reduces motion blur, resulting in a sharper subject but with less emphasis on the sense of motion. |
As you become more comfortable with panning techniques and adjust your camera settings accordingly, capturing dynamic images will become easier.
Transitioning into Tips for Achieving Sharp Subjects: Now that you have established a solid foundation for setting up your camera and understanding panning techniques let’s move on to exploring some valuable tips to ensure consistently sharp subjects in your images.
Tips for Achieving Sharp Subjects
Transitioning from the previous section on mastering handheld panning techniques, let’s now explore some practical tips that can help you achieve sharp subjects in your panning photographs. To illustrate this, consider a scenario where you are photographing a speeding race car. By applying these tips, you can capture the car in clear focus while conveying a sense of motion and speed.
To ensure that your subject remains sharp amidst the blurred background, follow these guidelines:
-
Use an appropriate shutter speed: Experiment with different shutter speeds to find the ideal balance between freezing the motion of your subject and capturing enough blur in the background. Generally, start with shutter speeds around 1/30th to 1/60th of a second for moving subjects. Adjust accordingly based on the speed at which your subject is moving.
-
Steady yourself and track your subject: Proper technique is crucial when it comes to panning photography. Keep your body stable by planting your feet firmly on the ground and tucking in your elbows against your sides. As you track your subject through the viewfinder, move smoothly along its path while keeping it centered within the frame.
-
Choose an appropriate autofocus mode: Depending on your camera’s capabilities, select either continuous or servo autofocus mode to keep up with the movement of your subject as you pan. This will help maintain focus on the intended area throughout the shot.
Following these tips will greatly enhance your ability to capture sharp subjects in panning photographs, adding impact and dynamism to your images.
| Key Points | Benefits |
|---|---|
| Enhanced sense of motion | Adds energy and excitement to static scenes |
| Dynamic storytelling | Conveys action and movement effectively |
| Creativity and experimentation | Allows for unique compositions and visual effects |
| Stand out from traditional shots | Creates visually striking images |
By incorporating these tips into your panning technique, you can elevate the visual impact of your photographs.
Transitioning smoothly into the subsequent section about “Experimenting with Creative Panning Effects,” let’s explore additional techniques that will take your panning photography to new artistic heights.
Experimenting with Creative Panning Effects
Section H2: ‘Mastering Panning Techniques’
To further enhance your photography skills, let’s delve into the art of panning. By mastering this technique, you can create captivating images that capture motion in a unique and visually appealing way. In this section, we will explore various tips and tricks for achieving stunning panning effects in your photographs.
Panning is a technique commonly used to emphasize movement while keeping a subject sharp against a blurred background. Imagine capturing the dynamic energy of an athlete sprinting across a track or a speeding car on a racetrack; panning allows you to freeze their moment while conveying their fast-paced action through intentional blurring. To achieve successful panning shots, consider the following:
- Choose the right shutter speed: Experiment with different shutter speeds to find what works best for your desired effect. Slower shutter speeds (around 1/30th of a second) tend to produce more pronounced motion blur, while faster shutter speeds (around 1/100th of a second) can result in sharper subjects and less background blur.
- Follow the subject smoothly: To maintain focus on your moving subject, practice tracking them smoothly as they move across your frame. Keep your camera steady by using proper hand-holding techniques or utilizing image stabilization features if available.
- Plan your composition carefully: Consider how you want to frame your shot before attempting panning. Anticipate where your subject will be at its peak point of interest within the frame and position yourself accordingly for optimal results.
- Experiment with different focal lengths: Varying focal lengths can yield different perspectives when it comes to panning. Wider lenses may provide a sense of speed and dynamism, whereas longer lenses can compress distance and create intriguing visual effects.
By mastering these panning techniques, you can take your photography to new heights. Below is an example case study showcasing the impact that effective panning can have on your images:
| Before Panning | After Panning |
|---|---|
 |
 |
In this example, the subject’s motion is captured more dynamically in the after panning shot. The intentional blur of the background adds a sense of speed and creates a captivating visual narrative.
Remember to practice these techniques consistently to refine your skills. With time and experimentation, you will gain confidence in capturing compelling panning shots that elevate your photography portfolio.